First things first: you NEED Inkscape 1.4 for the ’zine template to appear.
Below is what you’ll see when you choose the ’zine template

Basically, don’t touch the rectangle of pages at the bottom. You only add stuff to the pages across the top.
OK, let’s add a text frame first:
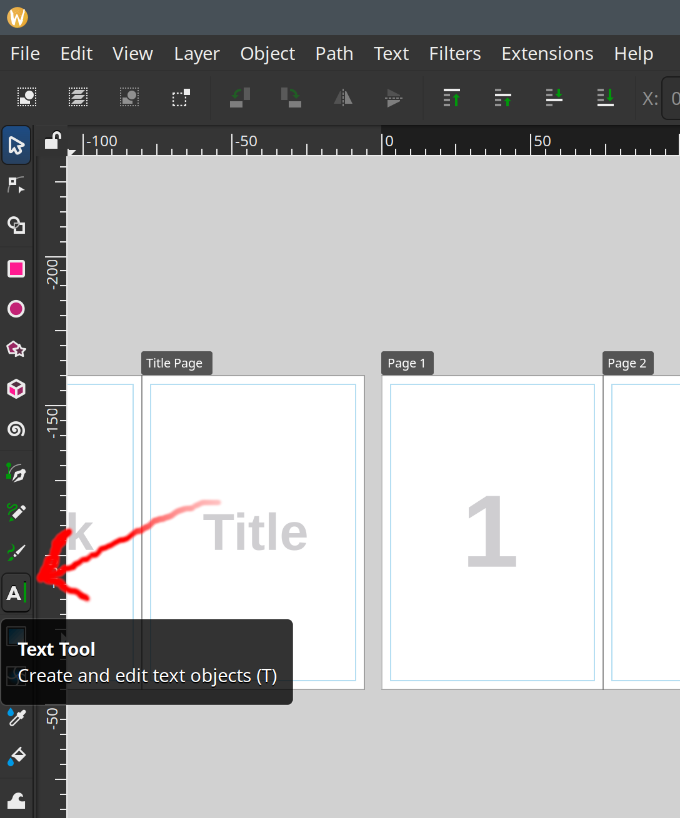
Let’s draw a text frame. Doesn’t really matter where you draw it. I’ve drawn it off the pages (the blue box)
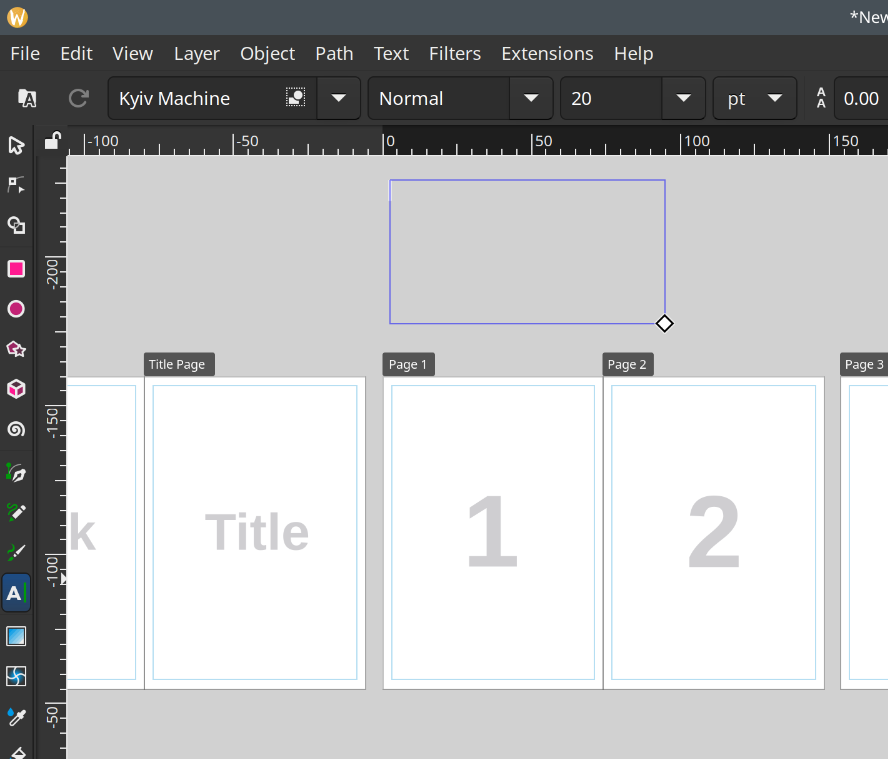
With the text frame still selected, paste in the text

You can use the drop down items below the menu to change font, size, etc.
Now we need to draw some boxes where the text will actually display and span across the pages.
For this, we use the rectangle tool, but you could use any shape.
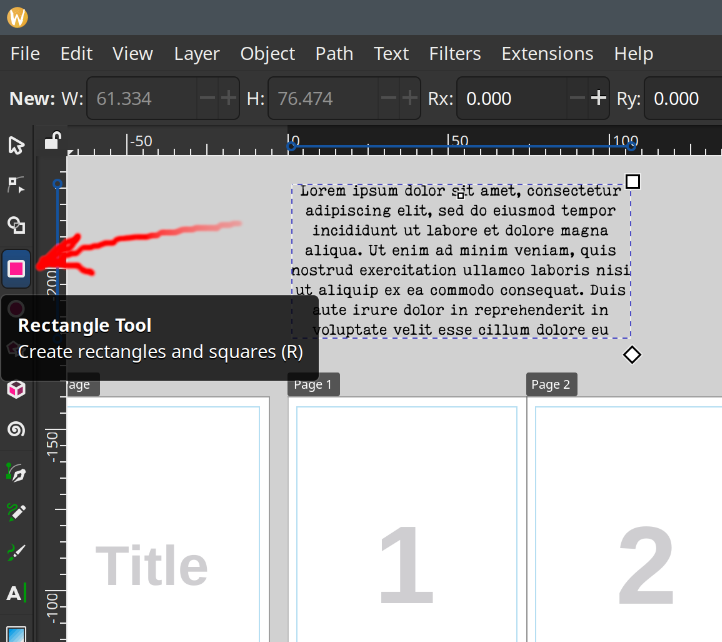
Draw a box on the page.
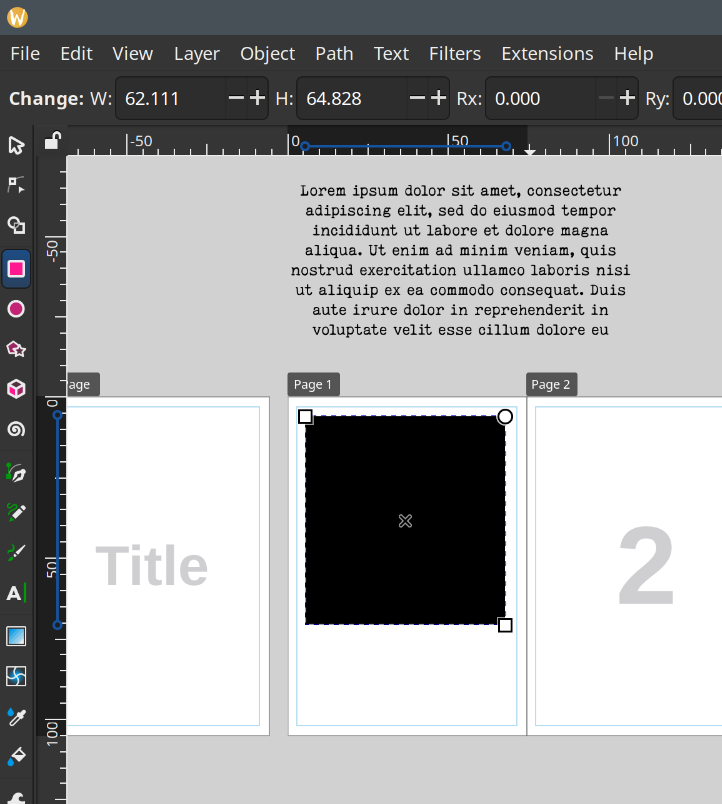
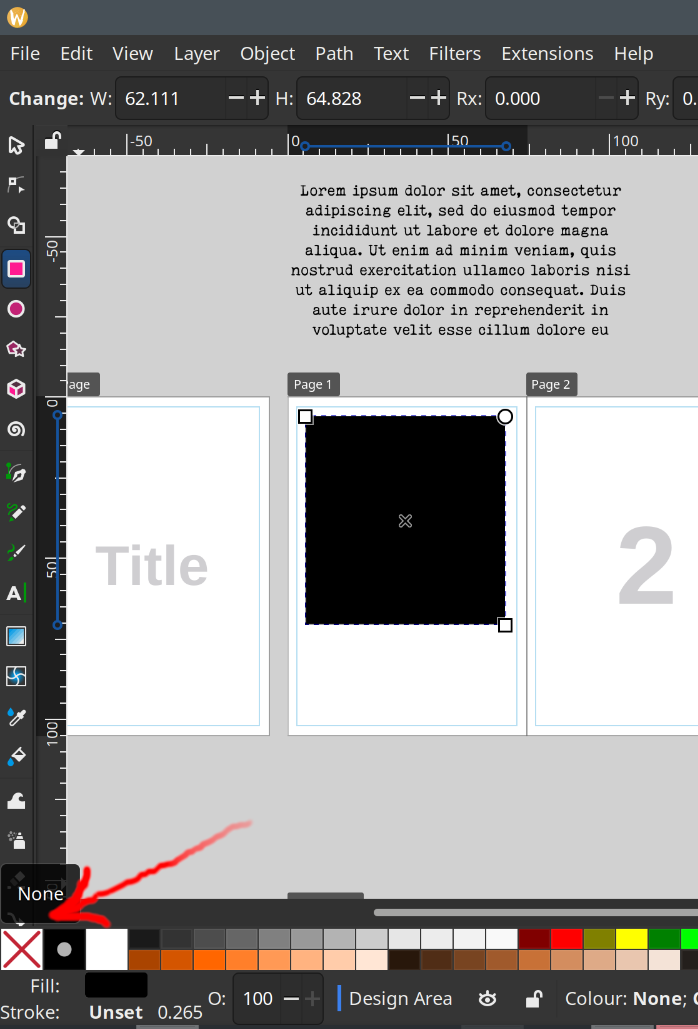
Don’t really want a black box (in this case) so click the white box with the red X at the bottom left of the screen. This will make it transparent.
That’s better!
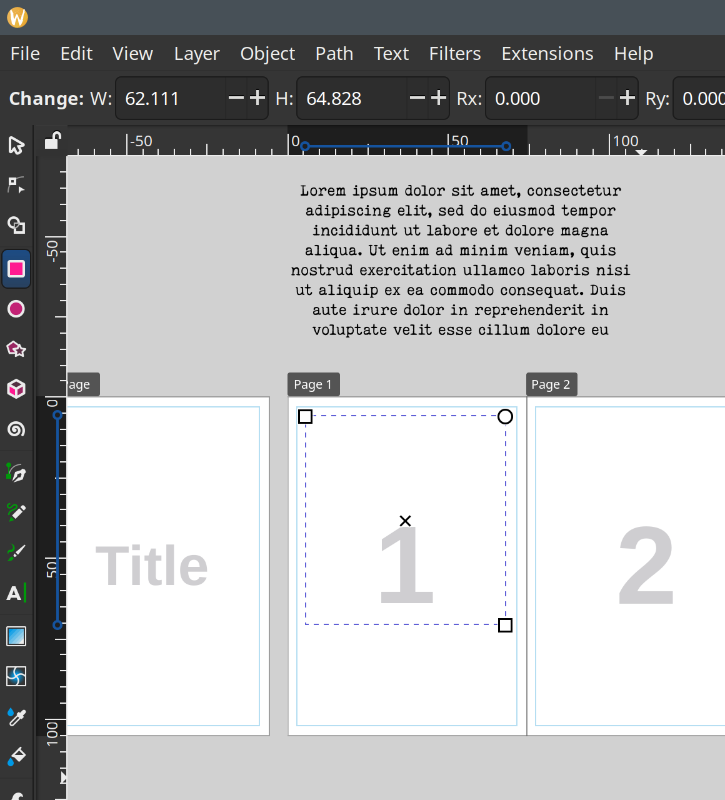
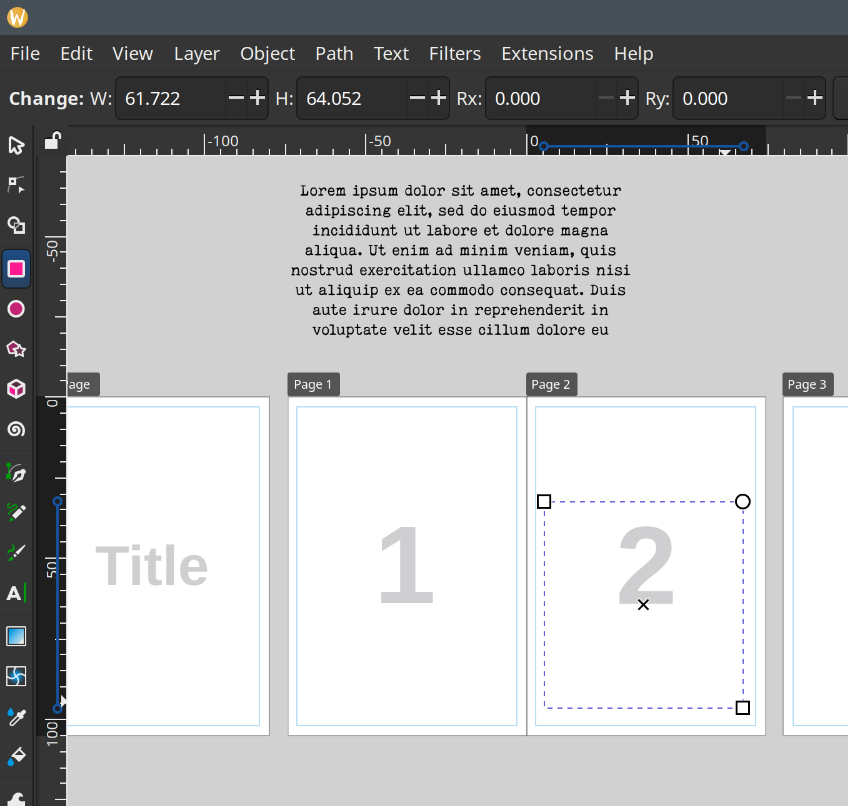
And let’s do another box on the other page.
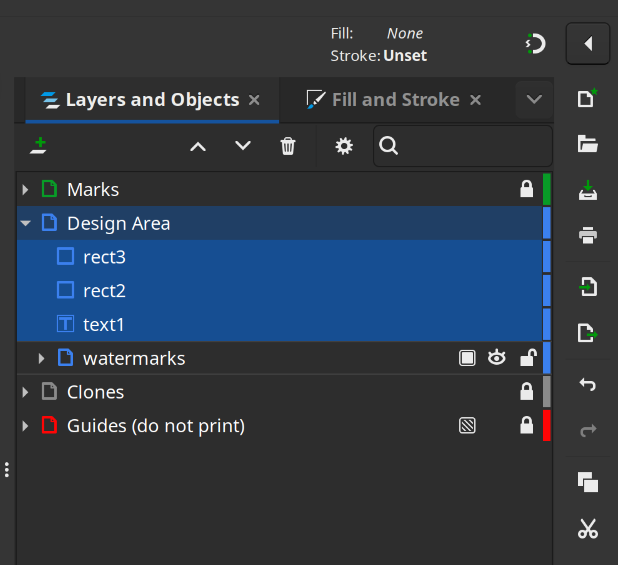
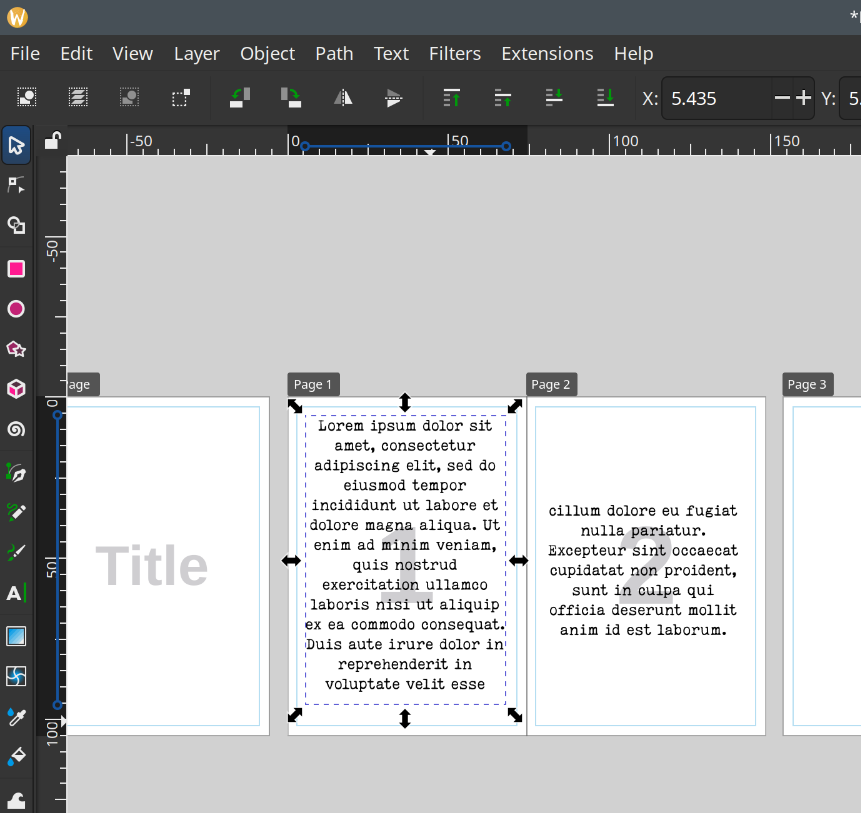
OK, this is the REALLY IMPORTANT PART: you need to select the layers in the order of TEXT then the first box then the second box, third, fourth, etc. This is the order in which the text will span across the frames/pages.
In my case I clicked text1, held down CTRL then clicked rect2 then rect3.
Now, in the menu, click TEXT then FLOW INTO FRAME.
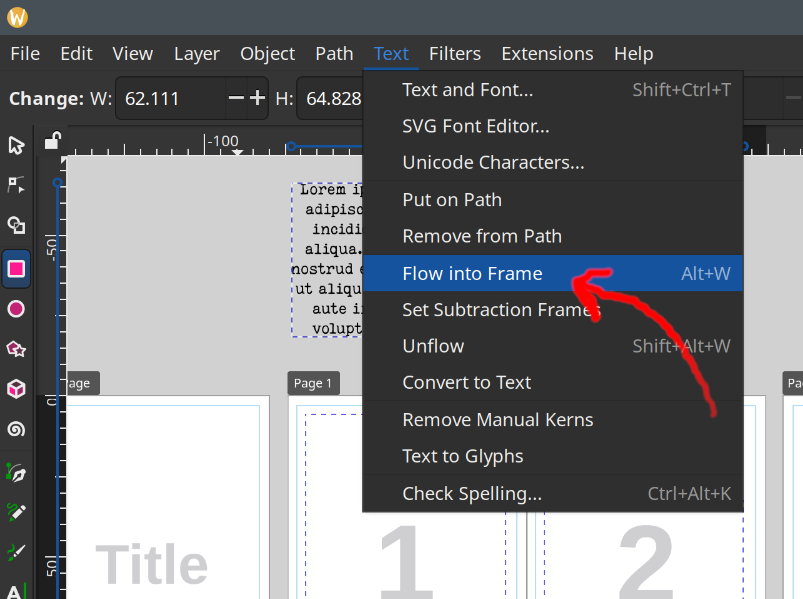
Voila! You’ll notice your text box is gone, but don’t worry, you can still edit text later.
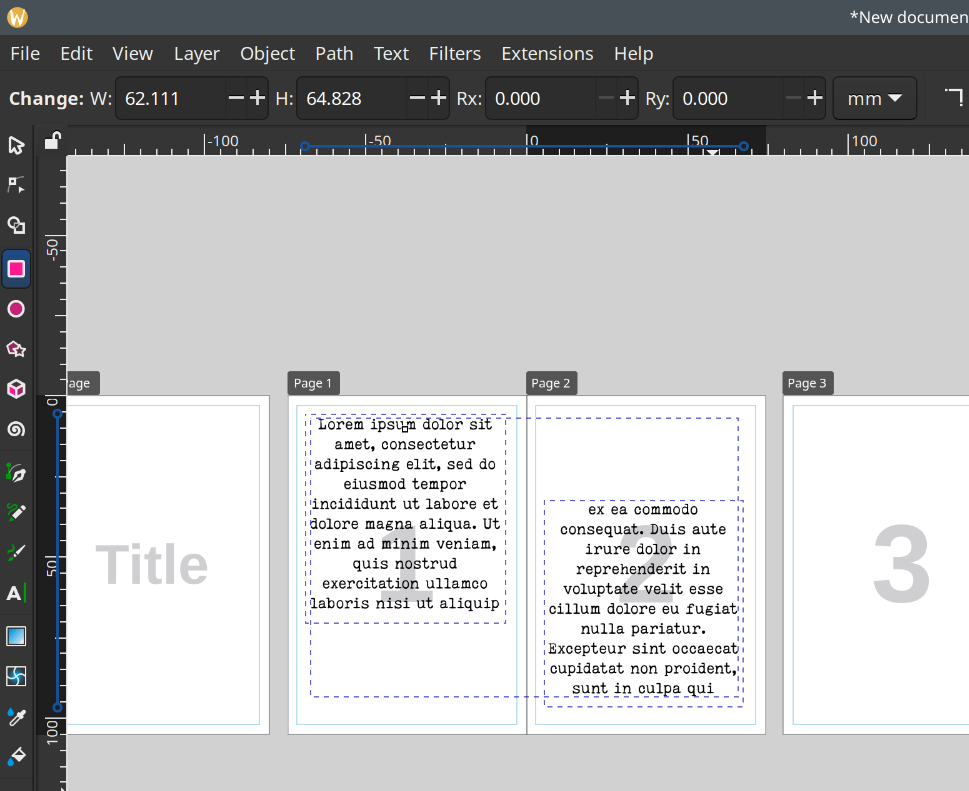
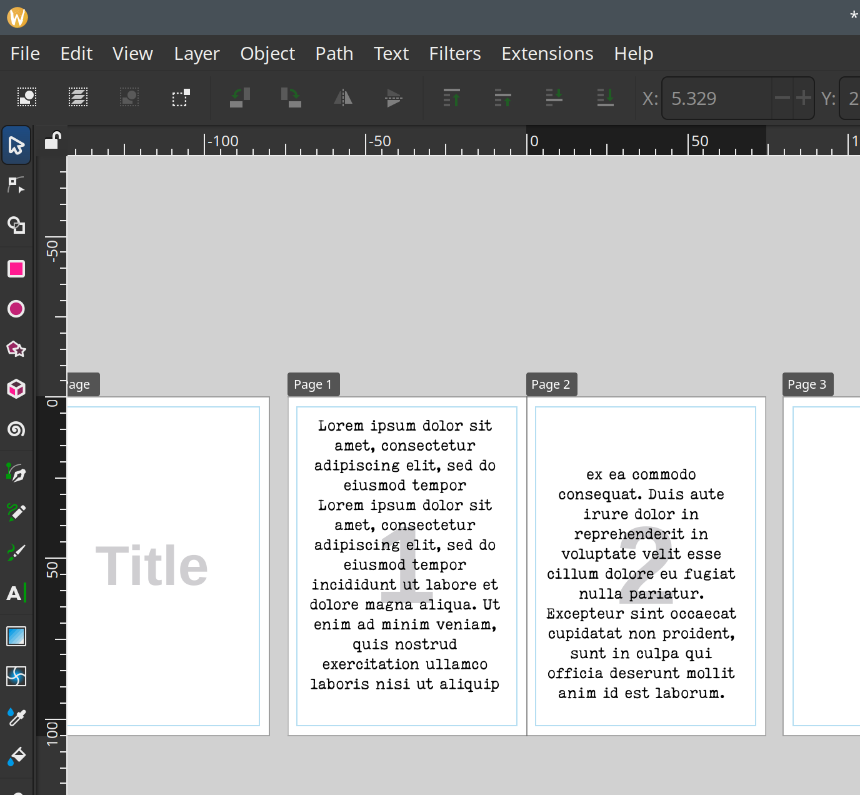
You can use the selector tool to resize/move the boxes. Just make sure you click the right layer first! eg: rect2
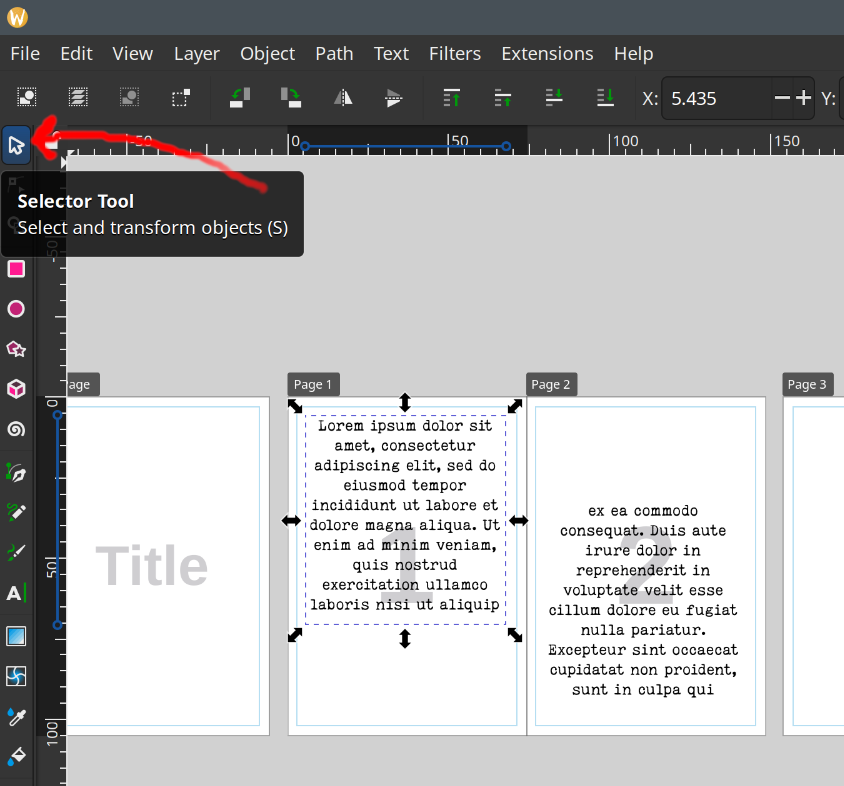
Resizing the rectangle will jiggle the text for you.
Here I’ve edited the rectangles just to show the text changing.

As long as you click the text layer and the text icon in the side menu (like we did at the start) you can click the text and edit it. Here I copy and pasted the first line in again.
Adding images is as simple as dragging and dropping the image onto the page. Then using the selector tool to move/resize.
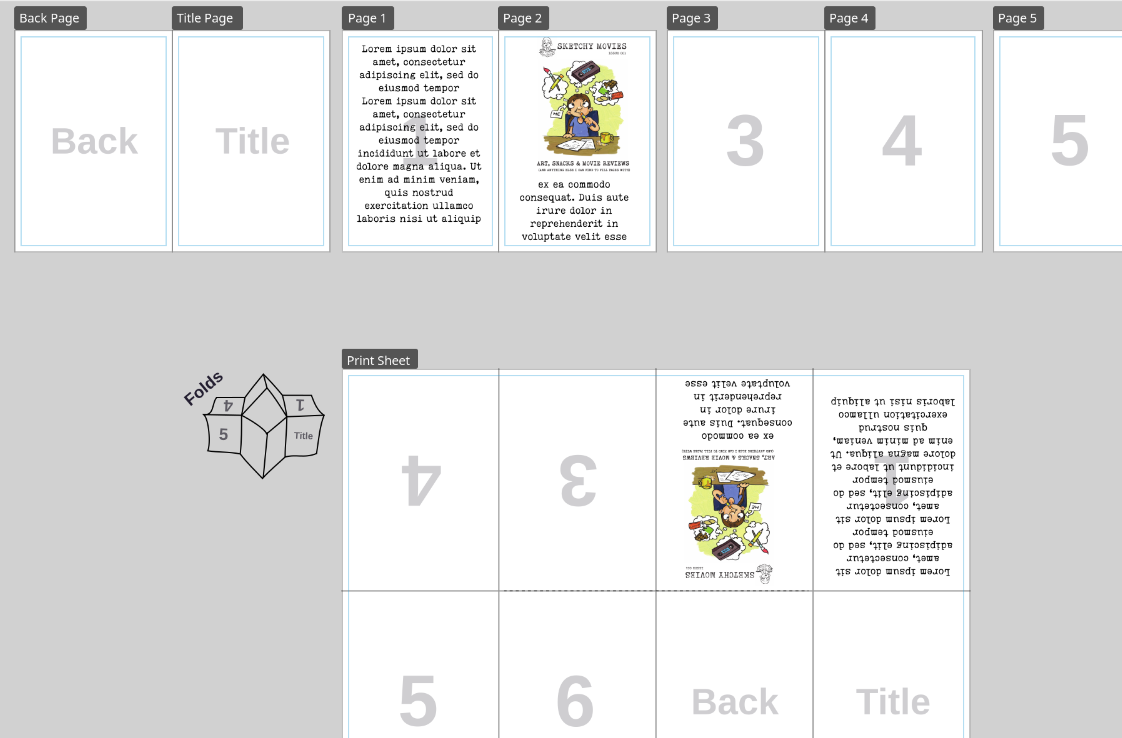
Note how the middle pages have updated and show the single page layout as you’d print it for the mini-zine.
Enjoy!